Ever seen a print job that looked perfect on screen but ended up with a white edge, a short panel, or a finish that just felt slightly off once installed? That is often the result of missing or misunderstood bleed on print files. Most people think bleed only matters during trimming in production, but it can also play a major role during installation. For wall graphics, signage, vinyl, and other applied prints, bleed on print files may be intentionally left on the printed piece so installers can trim it on site for a cleaner finish. In this guide, we will explain why bleed on print files matters, when it is required, when it may not be needed, and how a little extra artwork can make all the difference in both print and install quality.
What Bleed Means in Print
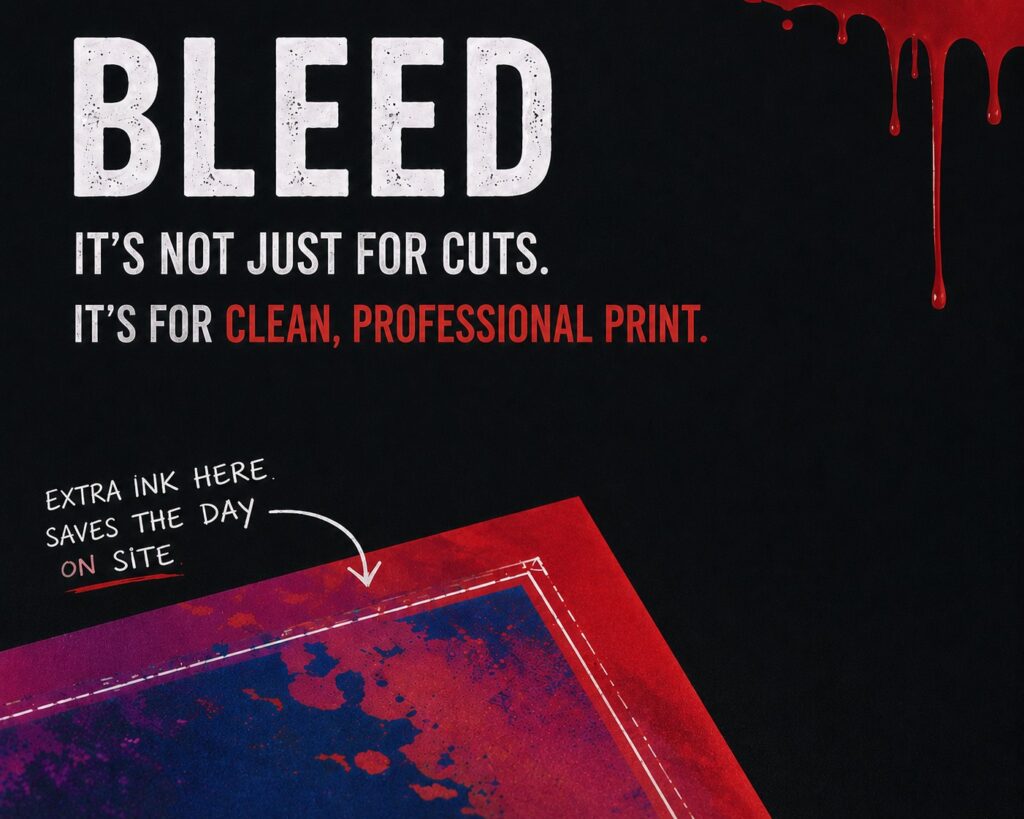
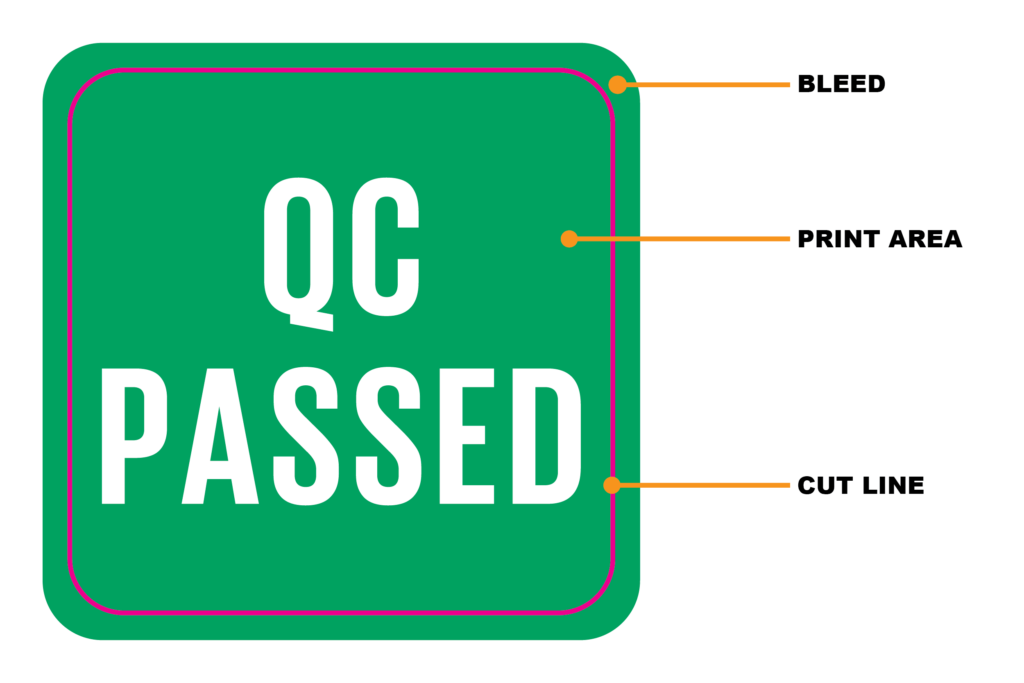
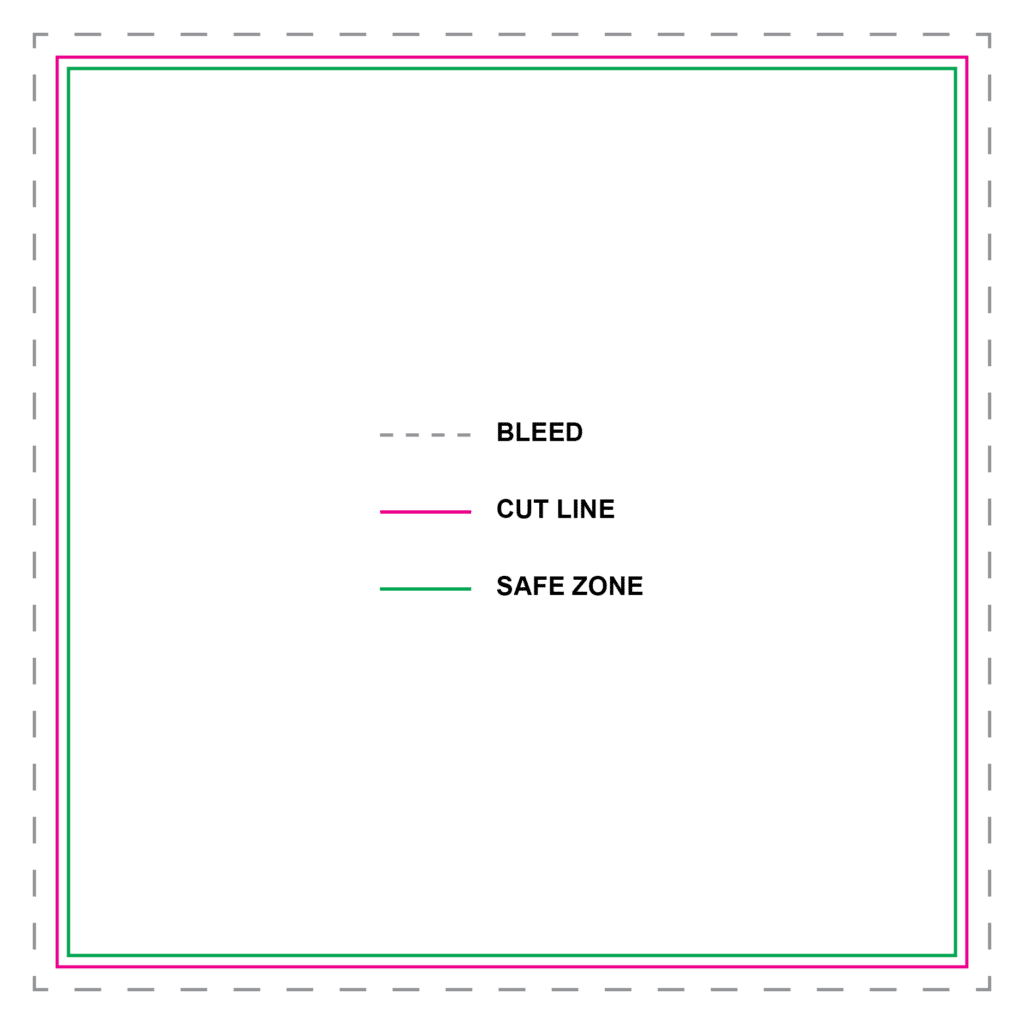
In simple terms, bleed is extra artwork that extends beyond the finished size.
For standard print products, that extra area is usually trimmed off during production. It acts as a buffer so slight movement during cutting does not leave white edges or uneven borders.
If a background colour, image, or graphic runs right to the edge of the final piece, it should continue into the bleed area too. That way, even if the trim shifts slightly, the finished result still looks complete.
This is the most familiar use of bleed on print files, but it is not the only one.
Why Bleed on Print Files Is So Important
Bleed helps protect your artwork from real-world tolerances.
In print production, there can be minor movement when materials are printed, cut, mounted, or finished. In installation, the challenge can be even greater. Walls are not always perfectly straight. Corners can be uneven. Site measurements can vary slightly from what is expected. Surfaces can reveal small discrepancies once the team is physically on site.
That is where bleed becomes incredibly valuable.
Without enough bleed, you risk:
- White edges after trimming
- Gaps at joins or borders
- Panels finishing short on site
- A harder install with less flexibility
- Visible imperfections in the final result
- Extra rework, delays, and cost
A small amount of extra material gives both the production team and the installer room to achieve a more polished finish.
Bleed in Production vs Bleed for Installation
This is the part many people miss: not all bleed is removed before delivery.
For many printed items like flyers, brochures, and business cards, bleed is included in the file and then trimmed off in production before the client sees the final piece.
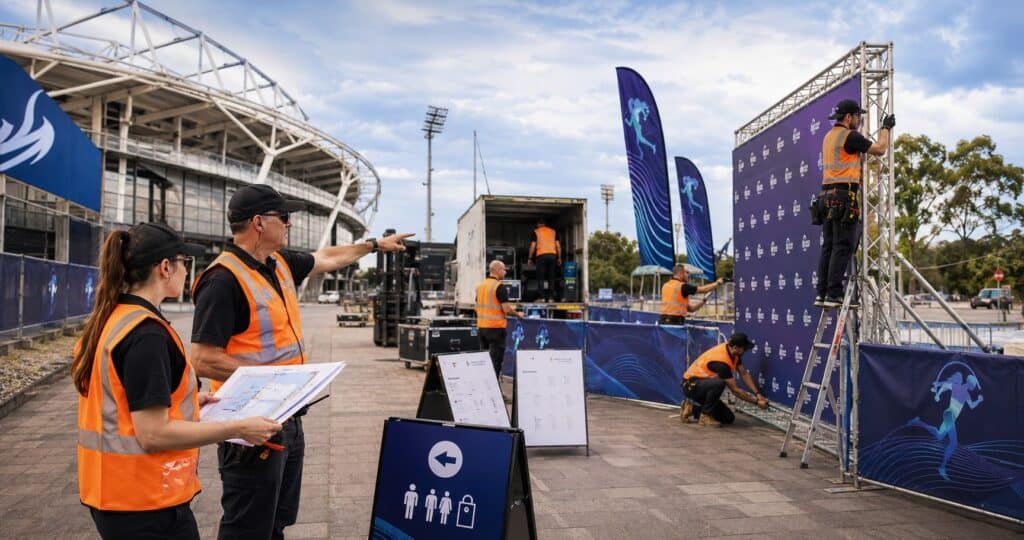
But for prints that are going to be installed on site, bleed may be intentionally left on the physical print. This gives installers extra material to work with once they are dealing with the real surface, real measurements, and real conditions.
This is especially important for:
- Wall graphics
- Self-adhesive vinyl
- Window graphics
- Large format panels
- Fitted signage
- Displays installed into frames or against architectural features
Why? Because site conditions are rarely perfect.
A wall may look square on plan, but be slightly out in reality. A measured area may have small variations. Edges, recesses, corners, and joins may need fine adjustment. By keeping bleed on the print for installation, professional installers can trim on site to suit the actual environment.
That little bit of extra material helps them:
- Line up graphics more accurately
- Wrap or trim edges neatly
- Allow for uneven walls or surfaces
- Adjust for small size discrepancies
- Create a cleaner, more seamless final appearance
In short, bleed is not just about printing safely. It is also about installing beautifully.
When Bleed Is Required
Bleed is usually required any time the design extends to the edge of the finished product.
That includes standard printed items such as:
- Flyers
- Brochures
- Business cards
- Posters
- Stickers
It also includes many large format and display applications such as:
- Corflute signs
- PVC and acrylic signage
- Floor vinyl
- Event graphics
- Branded panels
- Wall and window graphics
For standard print, bleed is commonly added to the file and cut off during finishing.
For install-based graphics, bleed may still be added to the file, but instead of trimming it all off in production, part of that extra area may stay on the print so it can be cut back on site by the installer.
This is one reason a consultative print partner matters. The right file setup depends on more than the artwork itself. It depends on how the product will be produced, transported, fitted, and viewed in its final environment.
When Bleed May Not Be Needed
Bleed may not be necessary if the design does not run to the edge or if the product is not being trimmed or fitted in a way that requires extra allowance.
For example, bleed may not be needed when:
- The design has an intentional white border
- Important graphics sit well inside the edge
- The product has a framed or contained visible area
- No edge-to-edge colour or imagery is used
A compliance sign with generous margins may not need bleed in the same way a full-coverage wall graphic does.
Still, it is always worth checking. Some jobs that seem simple can still need extra setup because of the substrate, cut method, installation surface, or finishing requirements.
When in doubt, ask the print team before final export. It is far easier to build in the right allowance upfront than to discover a problem once the job is on printer or already on site.
Tips to Avoid Missing Bleed in Your Artwork
If you want to avoid costly mistakes, the best approach is to think about bleed early.
Here are practical tips to help:
- Ask how the print will be finished or installed
Do not assume all bleed is trimmed off in production. For install jobs, some may need to stay on the print. - Set up bleed from the start
Add bleed in your design software before building the artwork. - Extend backgrounds and images fully
Make sure colour, photos, and graphics continue past the trim or visible edge. - Keep text and logos inside a safe zone
Important content should stay well clear of the edge so trimming or site adjustments do not affect readability. - Use exact specs provided for the job
Different products need different allowances. A flyer and a wall vinyl should not be set up the same way. - Allow for real-world conditions
If the graphic is being installed onto a wall, window, or fitted surface, remember that the site may not be perfectly square or exact. - Get a file check before print
This is especially important for custom signage, event installs, and large-format graphics where there is little room for error.
A little extra planning at the artwork stage makes life much easier for the people printing and installing the job.
To help with this setup, see our FREE [Signage Artwork Preparation Checklist]
Need Help Preparing Artwork for Print and Installation?
Phoenix Graphics works with businesses, schools, event teams, and safety managers to make sure the final product looks right not just in the file, but in the real environment where it will be installed. From design advice to production and on-site fit-off, we help you plan for the details that others overlook.
- Speak with our team about file setup, bleed requirements, materials, and installation considerations
- Get reliable end-to-end support for urgent, custom, or complex print projects anywhere in Australia
The best print outcomes do not happen by accident. They come from planning for what happens both in production and on site. Bleed on print files is one of those small details that makes a big difference. It helps protect the design, supports a smoother installation, and gives professionals the flexibility to make the final result look spot on in the real world. If you want expert guidance that goes beyond simply pressing print, Phoenix Graphics is here to help from concept through to installation.
Frequently Asked Questions
Q: Is bleed only used for trimming in production?
A: No. While bleed is often trimmed off during production, installed graphics may keep that extra material on the print so installers can trim it on site for a better fit.
Q: Why would installers need extra bleed on a print?
A: Walls, windows, and other surfaces are not always perfectly straight or consistent. Extra bleed gives installers room to adjust for wonky walls, small size discrepancies, and real-world site conditions.
Q: Can I decide the bleed amount myself?
A: It is better to confirm the required bleed with your print provider. Standard print items may use common bleed sizes, but install graphics often need allowances based on the product, surface, and installation method.
Written by Phoenix Graphics Team